DataMotion can be utilized from an Office 365 run organization with most of the same efficiency as the standard Gateway. This is due to the existence of a mail gateway provided by Microsoft Exchange which is included in certain Office 365 subscriptions (generally the ProPlus, Enterprise, and Government plans include this but not in all cases). By setting up this gateway with appropriate content filtering you can still use DataMotion in the same way as if you had a hosted or even on-premise DataMotion Gateway.
Setting up the Send Connector in Office 365
In order to begin using DataMotion with your Office 365 instance you must first create a Connector to connect to the DataMotion Platform. An administrator of Office 365 with access to Exchange administration is required in order to complete these steps. The steps assume the administrator is signed into Office 365.
- Under the Office 365 admin center pull out scroll down to the Admin centers section, and select Exchange.
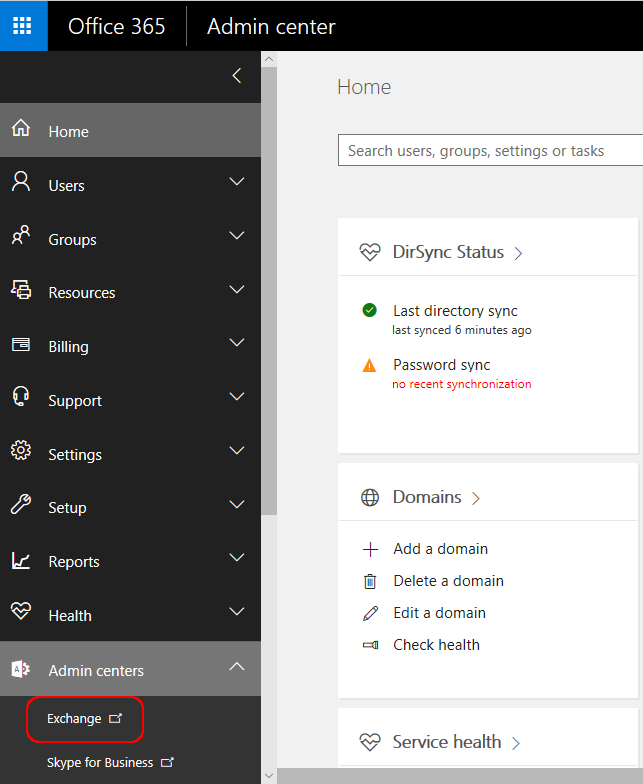
- Click the mail flow section on the left side of the screen.
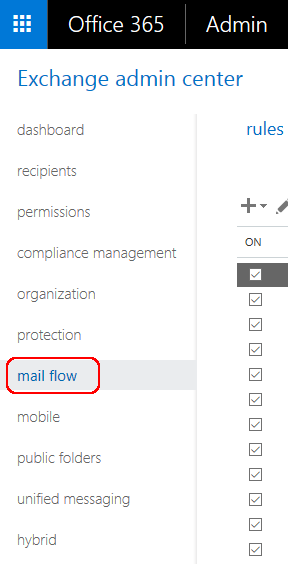
- Click the connectors tab.

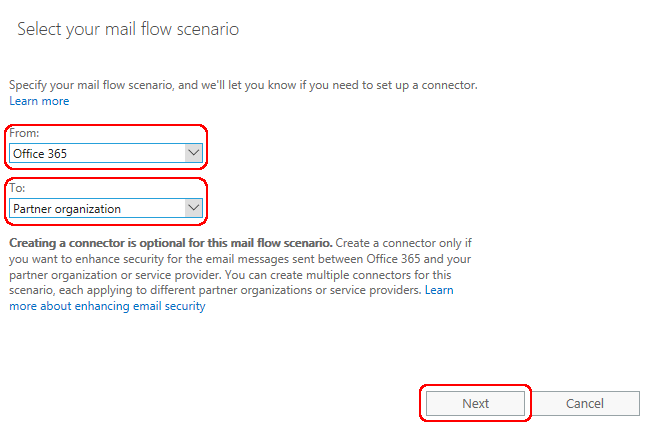
- Select the Plus icon (+) to create a new connector. Refer to the example screen, and enter information as follows on the Select your mail flow scenario screen and all subsequent pages during this process:

- Select Office 365 in the From: drop-down.
- Select Partner organization in the To: drop-down.
- Click Next.
- Type DataMotion SecureMail as the Name for the connector.
- Enter a description about what action the connector performs (see screenshot example).
- Click the Turn it on checkbox (optional but you will need to turn the connector on later).
- Click Next.

- On the When do you want to use this connector? section select the Only when I have a transport rule set up that redirects messages to this connector radio button.
- Click Next.

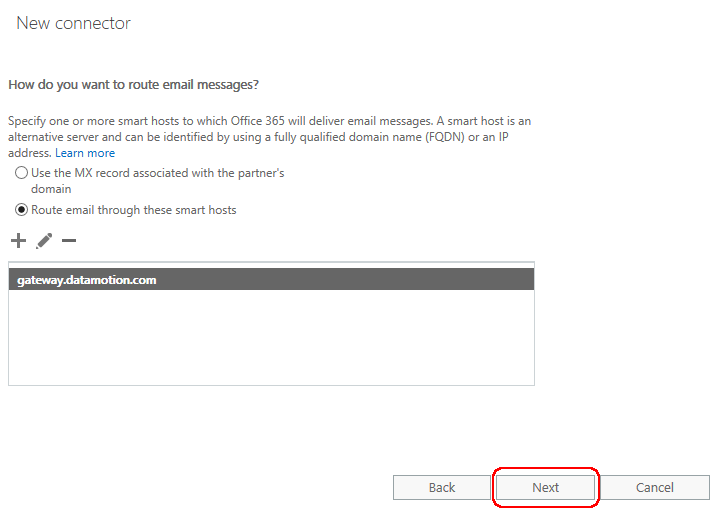
- On the How do you want to route email messages? section select the Route email through these smart hosts radio button.
- Click the plus icon to add a smart host.
- In the textbox, type the following: gateway.datamotion.com
- Click Save.

- The previous screen now contains the smart host you created.
- Click Next.
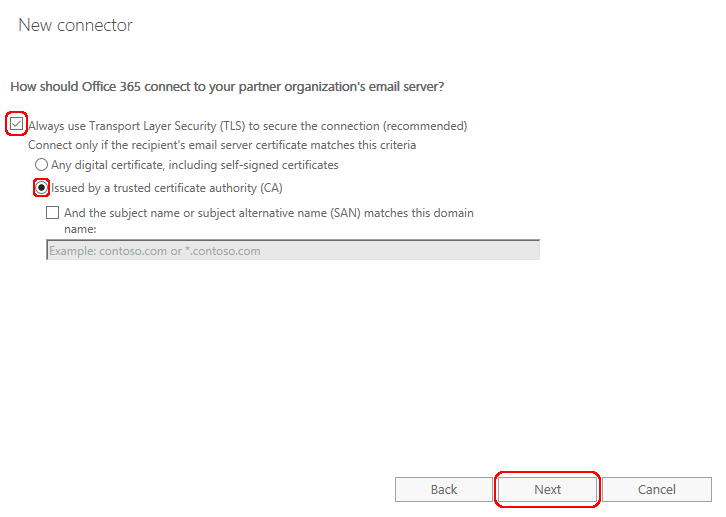
- On the How should Office 365 connect to your partner organization’s email server? section, ensure TLS checkbox is selected and the second radio button is chosen (see below for reference).
- Click Next.
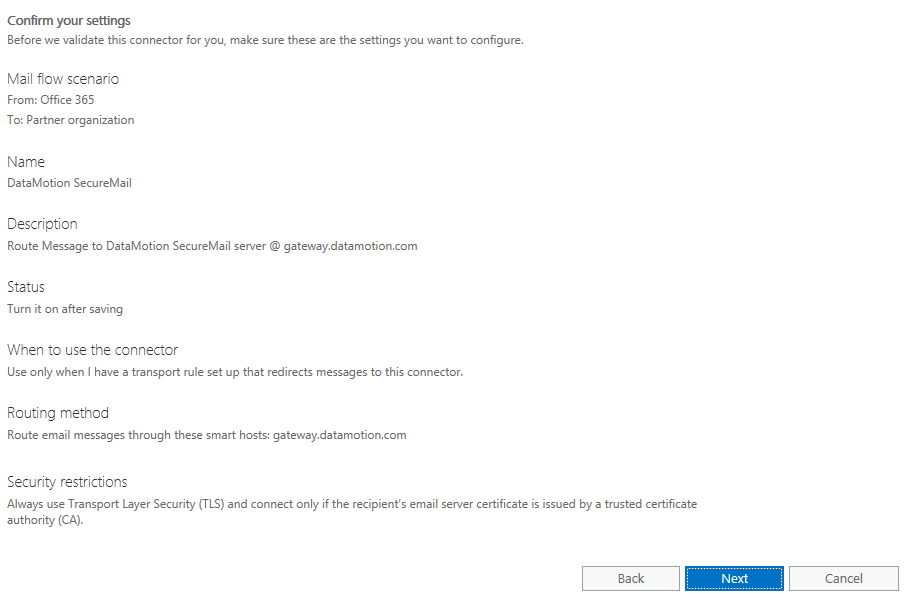
- A summary of all information entered during the process will be shown, review this information to ensure it matches these instructions (reference below) and then click Next.
- On the Validate this connector page you need to enter an email address to receive a test message. Click the plus icon to enter an address now.
- Enter an email of your choosing in the textbox and click OK.
- Click the Validate to button.
- When the process completes click the Close button in the pop-up window. You should have also received an email from Office 365 at the email you entered before clicking the Validate button.
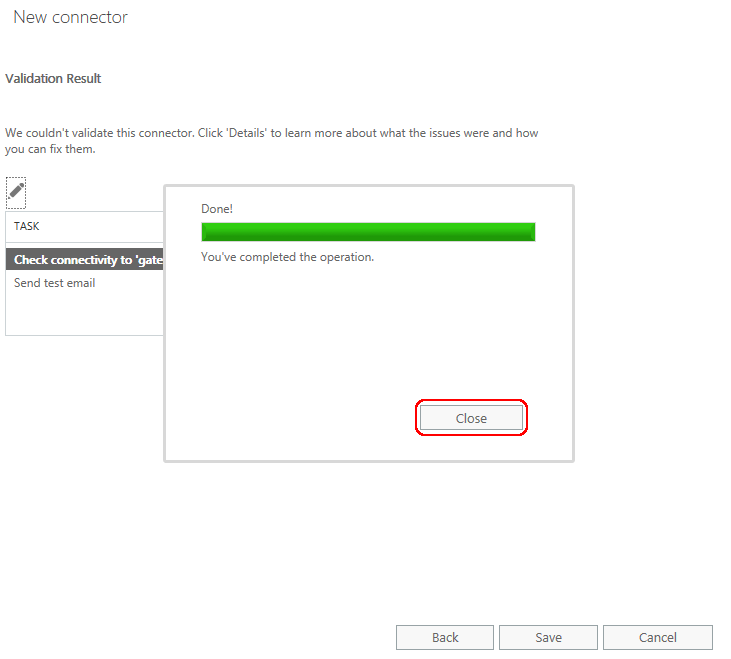
- Click the Save button to save the connector.
- Turn the Connector On if you did not do so in the previous steps.
If you have not done so already, you will need to create a rule in your mail flow to utilize the connector created in this section. To create a mail flow rule, see the Use Microsoft Exchange to Create a Rule with a Tag section.
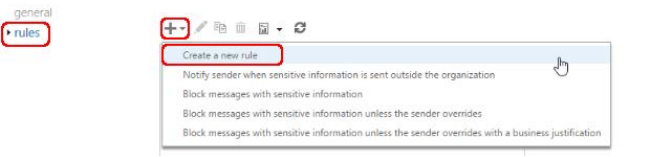
Office 365 Rule Example
To start off you will first have to create a new rule under an existing policy within your Exchange.
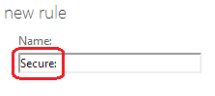
Give the rule a name.
When selecting a condition for the rule (Apply this rule if…) choose The subject or body… and select one of the options.

Add a second condition to the rule and choose Redirect the message to… and then select the following connector.
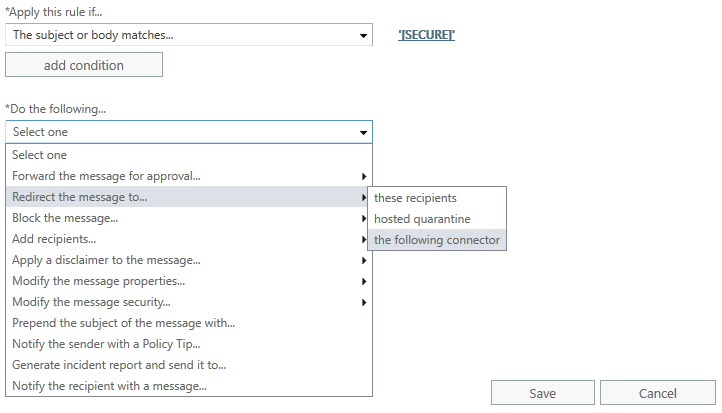
The connector entered will typically be where your accounts are located.